


LED track lighting is popular in stores, offices and showrooms thanks to its flexibility and sleek design. Connecting track lighting may seem complicated, but with the right preparation it is easy to do yourself. Follow the four steps below to ensure your LED track spots function safely and efficiently.
First check which type of rail you have: 1-phase track lighting or 3-phase track lighting. In a 1-phase system, all track spots switch on at the same time — ideal for smaller spaces or accent lighting. A 3-phase system offers more control: you can operate different groups of track spots separately, for example in a store with multiple lighting zones.
Attach the track directly to the ceiling or use mounting brackets. Use a spirit level to prevent misalignment. Connect the tracks properly using the correct connectors (straight, corner or T-connector). This ensures a clean light line without light loss.
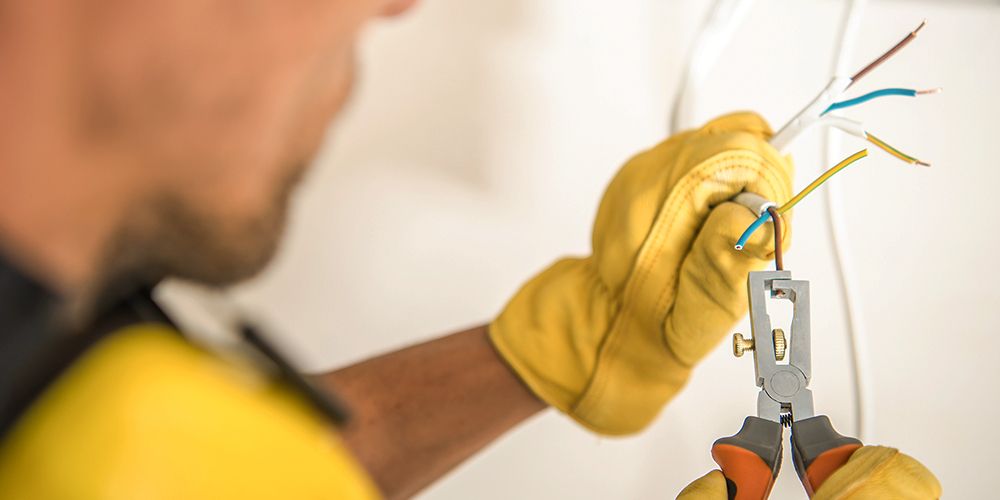
Always turn off the power before starting. Then connect the power feed through the power connector on the track. Use a cable with the correct diameter and check whether the live and neutral wires are connected correctly. Once all connections are secure and safe, you can switch the power back on to test the installation.
Click the LED track spots into the rail and aim them exactly where you need the light. Test the lighting and adjust the beam angle to highlight products, work areas or walls. Choose track spots with the right color temperature and beam angle for a professional appearance and consistent lighting throughout the space.
Connecting track lighting does not have to be complicated. With a good track system, safe wiring and the right LED track spots, you can create flexible and professional lighting in any commercial space. Want to be sure your installation performs optimally? Our specialists can provide a light measurement or maintenance advice for maximum efficiency and lifespan.


